In this particular tutorial, we are going to cover the AngularJS ability to make REST web service calls against a ServiceNow instance.
Please note, as a prerequisite, you should check out my prior blog posts:
- Getting AngularJS Libraries into your ServiceNow instance
- Angular in ServiceNow: Tutorial #1 – Model Basics
- Angular in ServiceNow: Tutorial #2 – Controllers
Considerations
This example will leverage the official ServiceNow REST API that was released with Eureka earlier in 2014. If you wish to do something similar with a pre-Eureka build, I recommend you try the JSONv2 web service.
Due to browser security constraints you will typically only be able to make REST web service calls against the same instance that the javascript is running on.
The AngularJS $http Provider
AngularJS uses its own built in $http provider to allow you to build out rapid REST based web service calls to web based endpoints.
There a number of shortcut methods you can leverage when setting up your HTTP requests using the $http provider, but my preferred method is to declare everything in the request itself. This is just personal preference, and until I use AngularJS more, I can’t really say which method is best. For more detailed information on the $http provider, I recommend you read the AngularJS http Provider documentation.
A typical HTTP request in AngularJS looks somewhat like the following:
1 2 3 4 5 6 7 8 9 10 11 12 13 14 15 16 17 18 | $http( { method: 'POST', url: 'http://example.com', headers: { 'Content-Type': 'application/json', 'Accept': 'application/json', //etc, etc }, data: { test: 'test' }, } ) .success( function(data, status){ //what to do with a successfull request }) .error( function(data, status){ //What to do in case the request failed }); |
Use Case
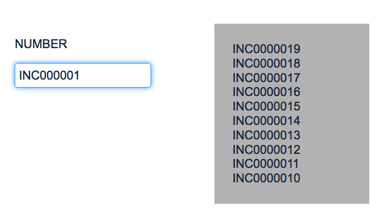
For this scenario, we want to have a form where a user can start typing in an Incident number. As they type, a list of the incidents that start with that string will be displayed to the right. The incident numbers will be limited to 25 numbers and they will be shown in descending order (higher incident numbers on top).
We will start with the following basic Jelly/HTML code:
1 2 3 4 5 6 7 8 9 10 11 12 13 14 15 16 17 18 | <j:jelly trim="false" xmlns:j="jelly:core" xmlns:g="glide" xmlns:j2="null" xmlns:g2="null"> <!-- The User Interface --> <div style='padding:40px;'> <div> <table><tr> <td style='width: 300px; vertical-align: top;'> <p>NUMBER</p> <input /> </td> <td style='vertical-align: top; padding: 20px; background-color: #B2B2B2; width: 200px;'> <div ></div> </td> </tr></table> </div> </div> </j:jelly> |
This code produces a form that looks like this:
Set up the Libraries and Angular App
Now, we need to reference the AngularJS libraries. I have installed them on my instance already. You can do so in a number of ways. A couple of ideas include:
Now, this time, rather than keep my own Angular application and controller code embedded in my UI Page, I am actually going to create a UI Script library in ServiceNow called “ang_lesson_3_lib” where I will put that code. This will help keep the UI code clean and separate from the Javascript code.
I do need to reference the code in my UI page, however, and since UI Scripts are cached in the system, I will append the last changed date to the “requires” call so that the cache will be updated any time I change the angular code in my library.
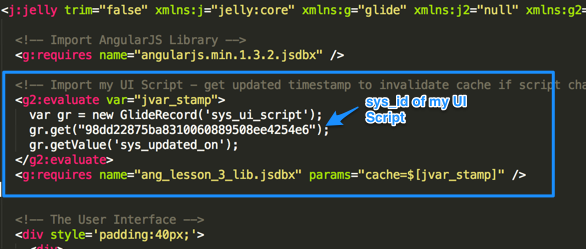
How I referenced the UI Script I created. This will be where I put my angular application and controller code.
Build out the Angular Hooks in the HTML
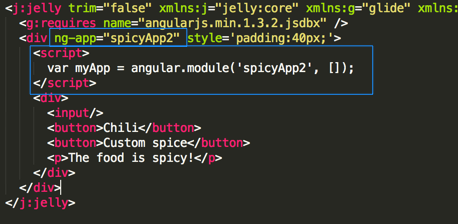
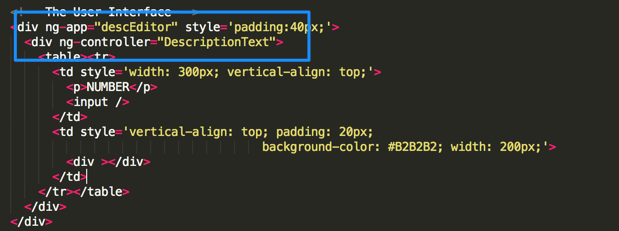
First of all, lets set up the App and the Controller.
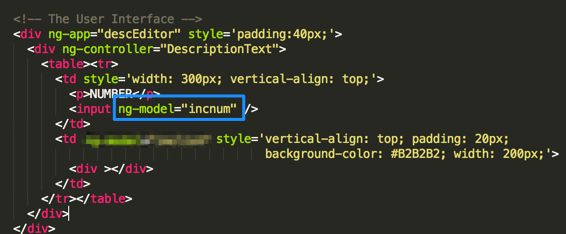
Next we want to set up two models. The first will be on the “input” field. We want an “incnum” variable to be associated with that field.
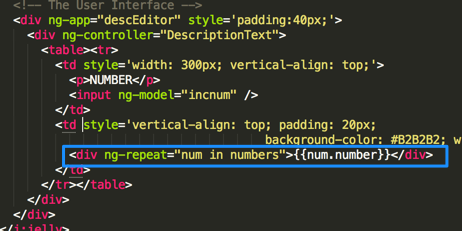
We do expect a list of numbers coming into the table cell to the right. Thus, we will want to iterate over each of those numbers so that each incident number is listed on its own line.
To handle the iteration, we will leverage the “ng-repeat” directive in Angular. We will assume that the angular variable containing the list of numbers is called “numbers”. We will interate over the “numbers” variable and store each iteration in a variable called “num”. We will also assume that each “num” variable will be in the form of:
{'number': 'INC0000001'}
So, we will create the following iteration within our table cell:
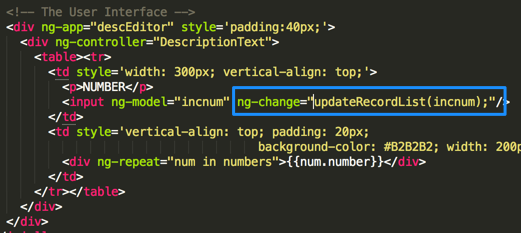
Finally, we want to watch the Incident Number input field for changes (eg. someone starts typing a number). Each time the value inside the input field changes, we want to query ServiceNow for incident records that start with that string.
To do this, we use the “ng-change” directive in AngularJS.
This is what our final Jelly/HTML code looks like:
1 2 3 4 5 6 7 8 9 10 11 12 13 14 15 16 17 18 19 20 21 22 23 24 25 26 27 28 29 30 | <?xml version="1.0" encoding="utf-8" ?> <j:jelly trim="false" xmlns:j="jelly:core" xmlns:g="glide" xmlns:j2="null" xmlns:g2="null"> <!-- Import AngularJS Library --> <g:requires name="angularjs.min.1.3.2.jsdbx" /> <!-- Import my UI Script - get updated timestamp to invalidate cache if script changes --> <g2:evaluate var="jvar_stamp"> var gr = new GlideRecord('sys_ui_script'); gr.get("98dd22875ba8310060889508ee4254e6"); gr.getValue('sys_updated_on'); </g2:evaluate> <g:requires name="ang_lesson_3_lib.jsdbx" params="cache=$[jvar_stamp]" /> <!-- The User Interface --> <div ng-app="descEditor" style='padding:40px;'> <div ng-controller="DescriptionText"> <table><tr> <td style='width: 300px; vertical-align: top;'> <p>NUMBER</p> <input ng-model="incnum" ng-change="updateRecordList(incnum);"/> </td> <td style='vertical-align: top; padding: 20px; background-color: #B2B2B2; width: 200px;'> <div ng-repeat="num in numbers">{{num.number}}</div> </td> </tr></table> </div> </div> </j:jelly> |
Create the Controller Code
In our UI Script that we created and referenced in our Jelly code, we will want to build out the Angular App and the Controller code.
We will start out with the following shell:
1 2 3 4 5 6 7 8 9 | var myApp = angular.module('descEditor', []); myApp.controller('DescriptionText', [ '$scope', '$http', function($scope, $http) { } ] ); |
Notice that in addition to $scope, I am also passing in $http. This is the HTTP Provider for AngularJS. It gives my controller the ability to make HTTP calls (eg. REST).
Now, lets set up the controller’s constructor such that with a couple of the following settings:
- Set a default value for the input field to be “INC”
- Set up the ServiceNow REST Table API url for incidents
- Set up a default “Accept” header to JSON for all REST Calls
1 2 3 4 5 6 7 8 9 10 11 | var myApp = angular.module('descEditor', []); myApp.controller('DescriptionText', [ '$scope', '$http', function($scope, $http) { $scope.incnum = "INC"; $scope.url = '/api/now/table/incident'; $http.defaults.headers.common.Accept = "application/json"; } ] ); |
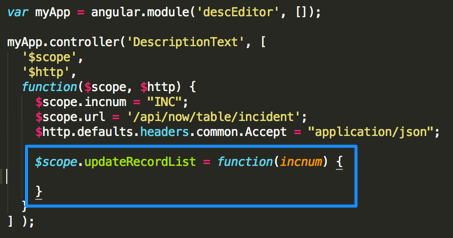
Now, we will create an “updateRecordList” function that takes in an incnum prefix string that we will use to query for incident numbers starting with that string.
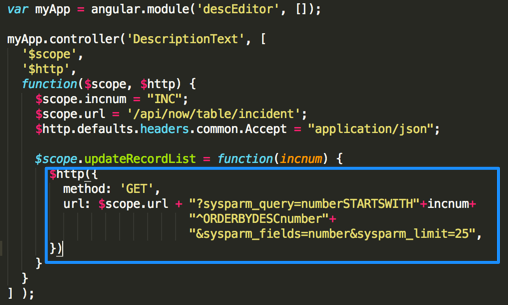
Since we are just dong a query, we will want to do the GET method for our REST call.
We only want to return numbers that start with our prefix string. Also, we will want to build out a ServiceNow encoded query such that incident numbers are returned in descending order. This query will go in the “sysparm_query” URL parameter.
"sysparm_query=numberSTARTSWITH"+incnum+"^ORDERBYDESCnumber"
Also, we only are interested in the “number” field. We don’t need anything else back from the record. According to the ServiceNow REST api, we can use the following URL parameter:
sysparm_fields=number
Finally, we want to limit the number of results to 25. The ServiceNow REST api lets us do this in the following manner:
sysparm_limit=25
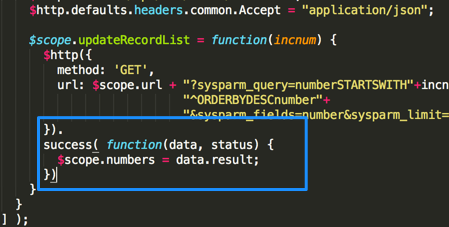
Now let’s add a success and error handler to the request. If successful, we are going to get data in this format:
1 | {'results':[{'number': 'INC000013'}, {'number': "INC0000014"}]} |
So, we want to store the array only into our “numbers” variable that we are iterating with in our HTML code.
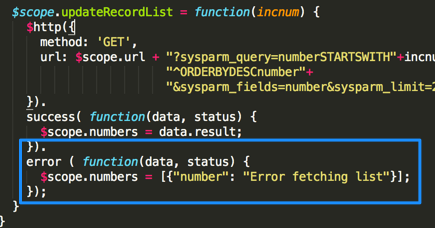
Now, if we get an error, let’s just store the following in the “numbers” variable:
[{"number": "Error fetching list"}]
We do it in this format because the HTML code we wrote expects an array of objects that contain a “number” field. Instead of a list of numbers in this error case, however, it will show one line as “Error fetching list”.
Here is our final Javascript code:
1 2 3 4 5 6 7 8 9 10 11 12 13 14 15 16 17 18 19 20 21 22 23 24 25 26 | var myApp = angular.module('descEditor', []); myApp.controller('DescriptionText', [ '$scope', '$http', function($scope, $http) { $scope.incnum = "INC"; $scope.url = '/api/now/table/incident'; $http.defaults.headers.common.Accept = "application/json"; $scope.updateRecordList = function(incnum) { $http({ method: 'GET', url: $scope.url + "?sysparm_query=numberSTARTSWITH"+incnum+ "^ORDERBYDESCnumber"+ "&sysparm_fields=number&sysparm_limit=25", }). success( function(data, status) { $scope.numbers = data.result; }). error ( function(data, status) { $scope.numbers = [{"number": "Error fetching list"}]; }); } } ] ); |


