Whenever I create an integration, I like to have an application set up in Service Now as a repository for quick access to tables, settings, etc.
An integration should be built such that it is easily configured or modified. Therefore, I always create a properties module for the integration where settings can easily be modified.
In order to do this you will first need to create the properties that pertain to your integration. These properties would be information such as SOAP endpoints, Integration user credentials, server ip addresses, etc.
I prefer to name my system properties in the following type of convention
com.snc.integration.<integration_name>.<integration_property>
For example, an integration with Novell, you may name a property:
com.snc.integration.novell.identity_server_url
Once all of your properties are created, you should create a System Property Category for your integration. You can do this by going to: System Properties –> Categories.

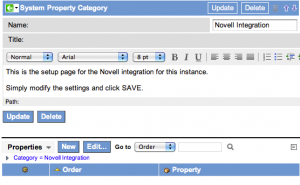
You can name the category and add any description (formatted if desired) that helps explain the purpose of the gathered properties.
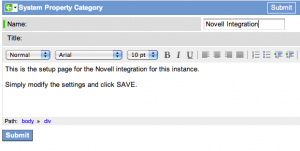
After the category is created, go back into the category and add System Properties by clicking the EDIT button in the Properties section of the page.
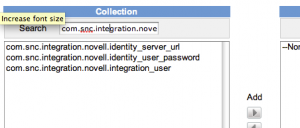
You can filter the properties by typing part of the name of the properties in the Search text box.
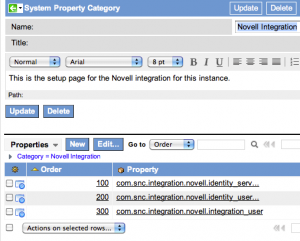
When adding system properties, you can also set the order in which they appear within a category page.
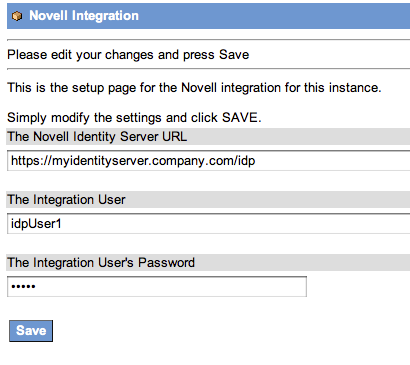
Once you have created the category and populated it with System Properties, you can view the category page by using the following URL convention:
system_properties_ui.do?sysparm_title=<Title for the page>&sysparm_category=<category_name>
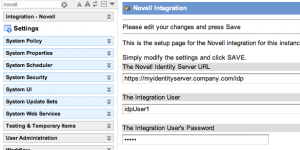
This will get you a page similar to the one below:
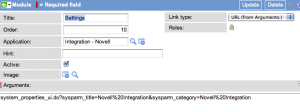
In order to create a page for this in your integration, you simply modify your “Application” and add a module with a Link Type of “URL (from Arguments)”. In the arguments field, you type in your url. For my example I used:
system_properties_ui.do?sysparm_title=Novell%20Integration&sysparm_category=Novell%20Integration
This is how my Module settings look:
Now, when you submit your change, you can view your application, click on the “Settings” module you just created and view all properties associated with your integration:
