
With the advent of Runbook Automation people are seeing the need to use Web Services within Workflows more often. Runbook Automation is not required for using Web Services with the Workflows built into ServiceNow, but the concept is the same whether you are using Web Services for simple workflows or for complicated Runbook Automation modules.
This example will build a very simple Catalog Request item with one variable, Machine Name. It will then use that variable within a SOAP request. We will use the response from the SOAP request to what type of email notification we will send out. This example will assume you know how to create and configure a SOAP Message in the system. We will call it in the example, but we will not build it.
Setup the Workflow Record
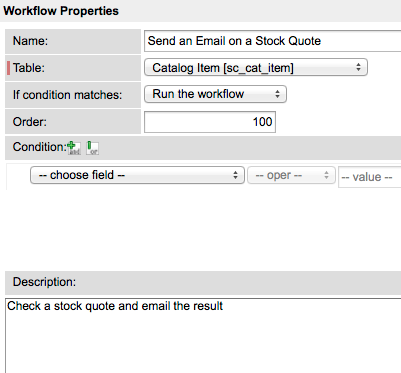
Create a new Workflow record with the following data:
Name: Send an Email on a Stock Quote
Table: Catalog Item
If condition matches: Run the workflow
Description: Check a stock quote and email the result
Setup SOAP Request in Workflow
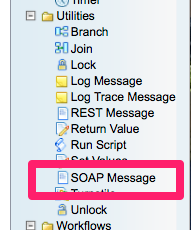
For the SOAP request, we will sue the “SOAP Message” activity. It can be found in the right hand Activity bar.
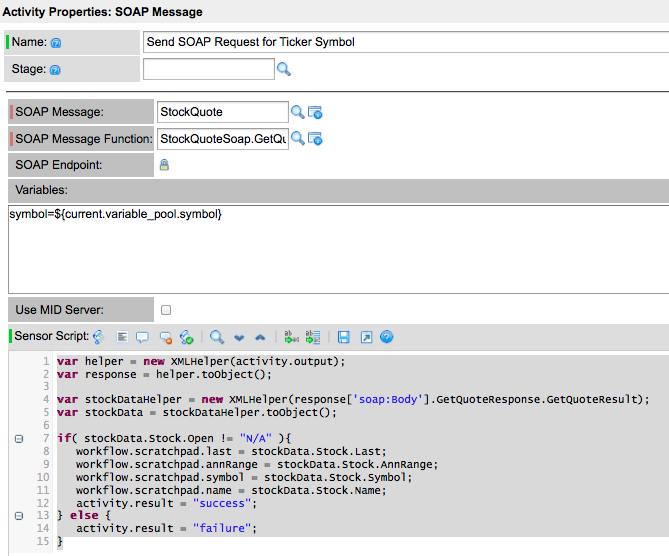
Name: Send SOAP Request for Ticker Symbol
SOAP Message: StockQuote (I am using the out of box example StockQuote SOAP Message).
SOAP Message Function: StockQuoteSoap.GetQuote
In setting the variables for the SOAP Message, we use the “Variables” text field. This field takes in a comma separated list of variables in the following format: var1=val1,var2=val2,var3=val3.
In this case, however, we have only one variable in the SOAP function and that is “symbol”. For this variable, we are going to grab a “Symbol” variable from the Catalog Request page. When we create that page we will want to create a variable called “symbol”. We can reference that variable in the following way:
symbol=${current.variable_pool.symbol}
The Sensor Script field is the script that will run after the SOAP Message receives a response from the service.
Here is the Sensor Script I used:
1 2 3 4 5 6 7 8 9 10 11 12 13 14 15 16 17 18 19 20 21 22 23 24 25 26 27 28 29 30 31 32 33 34 35 36 37 38 39 40 41 42 43 44 45 | //The output of the SOAP Message response will automatically get dumped into //this "activity.output" variable //Convert the output XML into a Javascript Object var helper = new XMLHelper(activity.output); var response = helper.toObject(); //The response has embedded XML in the Result element. I will //convert that into an object as well var stockDataHelper = new XMLHelper(response['soap:Body'].GetQuoteResponse.GetQuoteResult); var stockData = stockDataHelper.toObject(); /* The resulting object will has the following variables: Stock: Object PercentageChange: string = +0.27% AnnRange: string = 22.62 - 41.77 Open: string = 26.35 Low: string = 25.54 High: string = 26.67 Change: string = +0.07 Date: string = 1/9/2013 Time: string = 3:16pm Symbol: string = NOW Volume: string = 1053036 PreviousClose: string = 26.20 P-E: string = N/A Name: string = ServiceNow Last: string = 26.27 Earns: string = -0.878 MktCap: string = 3.284B */ //Check to see if the stock is valid if( stockData.Stock.Open != "N/A" ){ //Store stock data into scratchpad variables for the next activity workflow.scratchpad.last = stockData.Stock.Last; workflow.scratchpad.annRange = stockData.Stock.AnnRange; workflow.scratchpad.symbol = stockData.Stock.Symbol; workflow.scratchpad.name = stockData.Stock.Name; activity.result = "success"; } else { //Not valid stock result...tell the workflow this failed activity.result = "failure"; } |
This is what my SOAP Message Activity looks like:
Set up the Notification Activity
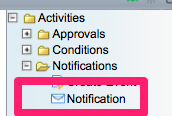
If the stock query is successful, we want to send an email notification with the information about the stock. To do this we will user a “Notification” activity. This activity can be found in the Activity tree pane under Activities->Notifications->Notification.
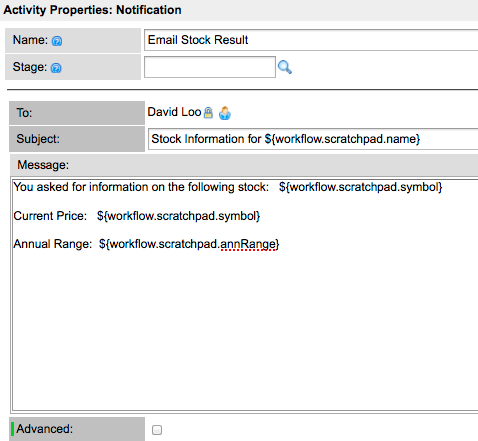
Here is how you fill out the Notification Activities Properties
Name: Email Stock Result
To: David Loo
Subject: Stock Information for ${workflow.scratchpad.name}
Message:
1 2 3 4 5 | You asked for information on the following stock: ${workflow.scratchpad.symbol} Current Price: ${workflow.scratchpad.symbol} Annual Range: ${workflow.scratchpad.annRange} |
When you are done, this is what your record could look like:
Assembling the Workflow Activities
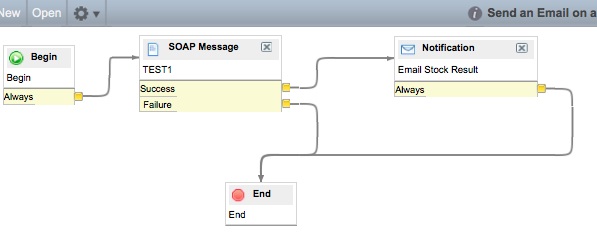
Now that you have the activities create, you can put them together in the Workflow Editor. Here is what it should look like:
Set up the Catalog Item
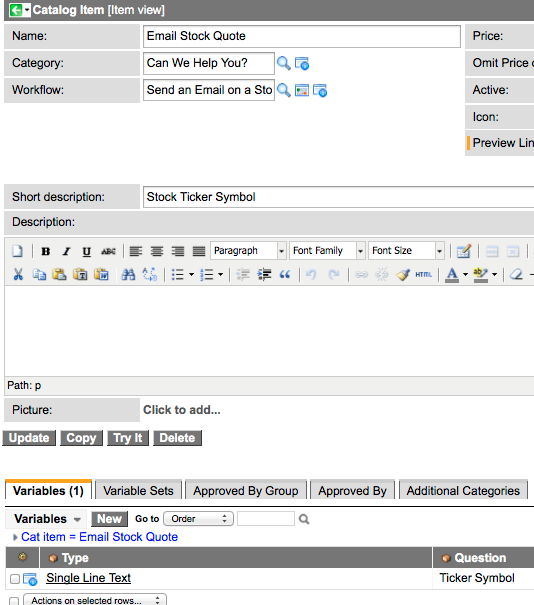
Name: Email Stock Quote
Category: Can We Help You?
Workflow: Send an Email on a Stock Quote
Short Description: Stock Ticker Symbol
Save this record, then on the same Catalog Item, create a new variable in the related list associated with your new Catalog Item.
Type: Single Line Text
Name: symbol
Question: Ticker Symbol
Default Value: NOW
Mandatory: True
The following is what your Catalog Item should now look like:



This example is wonderful. What I am curious about, is what is the XML response you are receiving that prompted you to write that specific sensor script. I am working on building sensor scripts to specific XML responses, and having some troubles. Trying to backwards engineer a sensor script based on the XML response I’m receiving and using your example.
Thanks
@John S – This one was a little tricky because the SOAP Response contained XML within XML. Thus, the nested XML part of the response was escaped so as not to break the outer XML portion of the response.
I had to convert the outer XML portion first and then navigate to the element that contained the escaped XML document. That is when I then parsed the nested XML into an XML document of its own.